
Creating and sharing movie with Windows Live Movie Maker
Using new Windows Live Movie Maker you can easily create, edit your embryonic movie just for free of cost. Windows Live Movie maker is designed to be easy and efficient to use and also after your movie complete you can share it on MSN Video. You can download Window Live Movie Maker beta from http://download.live.com.
How to make or edit movie using WL Movie Maker:
- Goto Start –> Windows Live –> Windows Live Movie maker beta
- Under the Home Tab
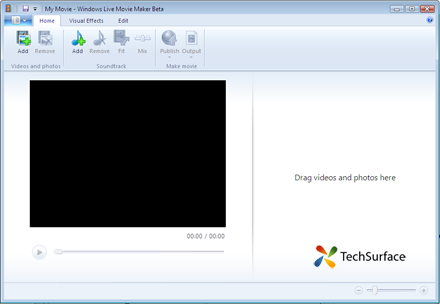
Click on Add in Videos and photos section, and browse your photo or video and for removing video or photo from story board click on Remove.
A background Music always make a Movie better and best, To add a background music to your movie click on Add in Soundtrack section, and use remove button to remove already added sound.
You can adjust the volume of your background music by adjusting Mix slider.
After all done, your story board will look something like this :
- We have successfully added our videos or photos to the storyboard, now lets add some transition effects to your movie.
Under the Visual effects tab, there are two section for customizing Movie. The first section is for adding transition effects to our movie and another section “ Effect “ is used for adding filter effects to movie.
The transition effect can be added only between two clips, To add the transition effect, select the video or clip or photo from the story board then click on the transition effect that you like.
Currently Windows live movie maker beta has just four transition effects, hope in future it will contain more.
- In previous stage we completed Visual work, now lets move to edit work area
With edit tab, you can add text to your movie, To add Text just select the particular clip or photo on which you want to display your text, then click on Text box. Customize your added font using Font section under Edit tab.
Using Trim function you can trim your video from beginning or Ending part, and also you can mute particular video sound using Mute button.
If you have added photo to your movie then don’t forget to add its display duration on screen by using Duration function in photo section.
- Now we have successfully created our Movie, lets share it with friends and families
Sharing or publishing Videos using Windows Live Movie Maker beta :
To make a sharable version of your movie, navigate to Home tab, in ‘Make a movie ‘ section , you will find two option :
One option is to output your movie as a video file that's saved on your computer. Then you can watch your movie on your computer by playing it in a media player, such as in Windows Media Player.
Another option is for sharing your movie by publishing it on the web to Soapbox on MSN Video. After your movie is published on Soapbox, you can send friends and family an e-mail message with a link to the video.
Click here to read “ How to Publish Movie Online “
- So, this Christmas captured your precious moments and share it with Windows Live Movie maker.


Subscribe to:
Post Comments (Atom)


Post a Comment